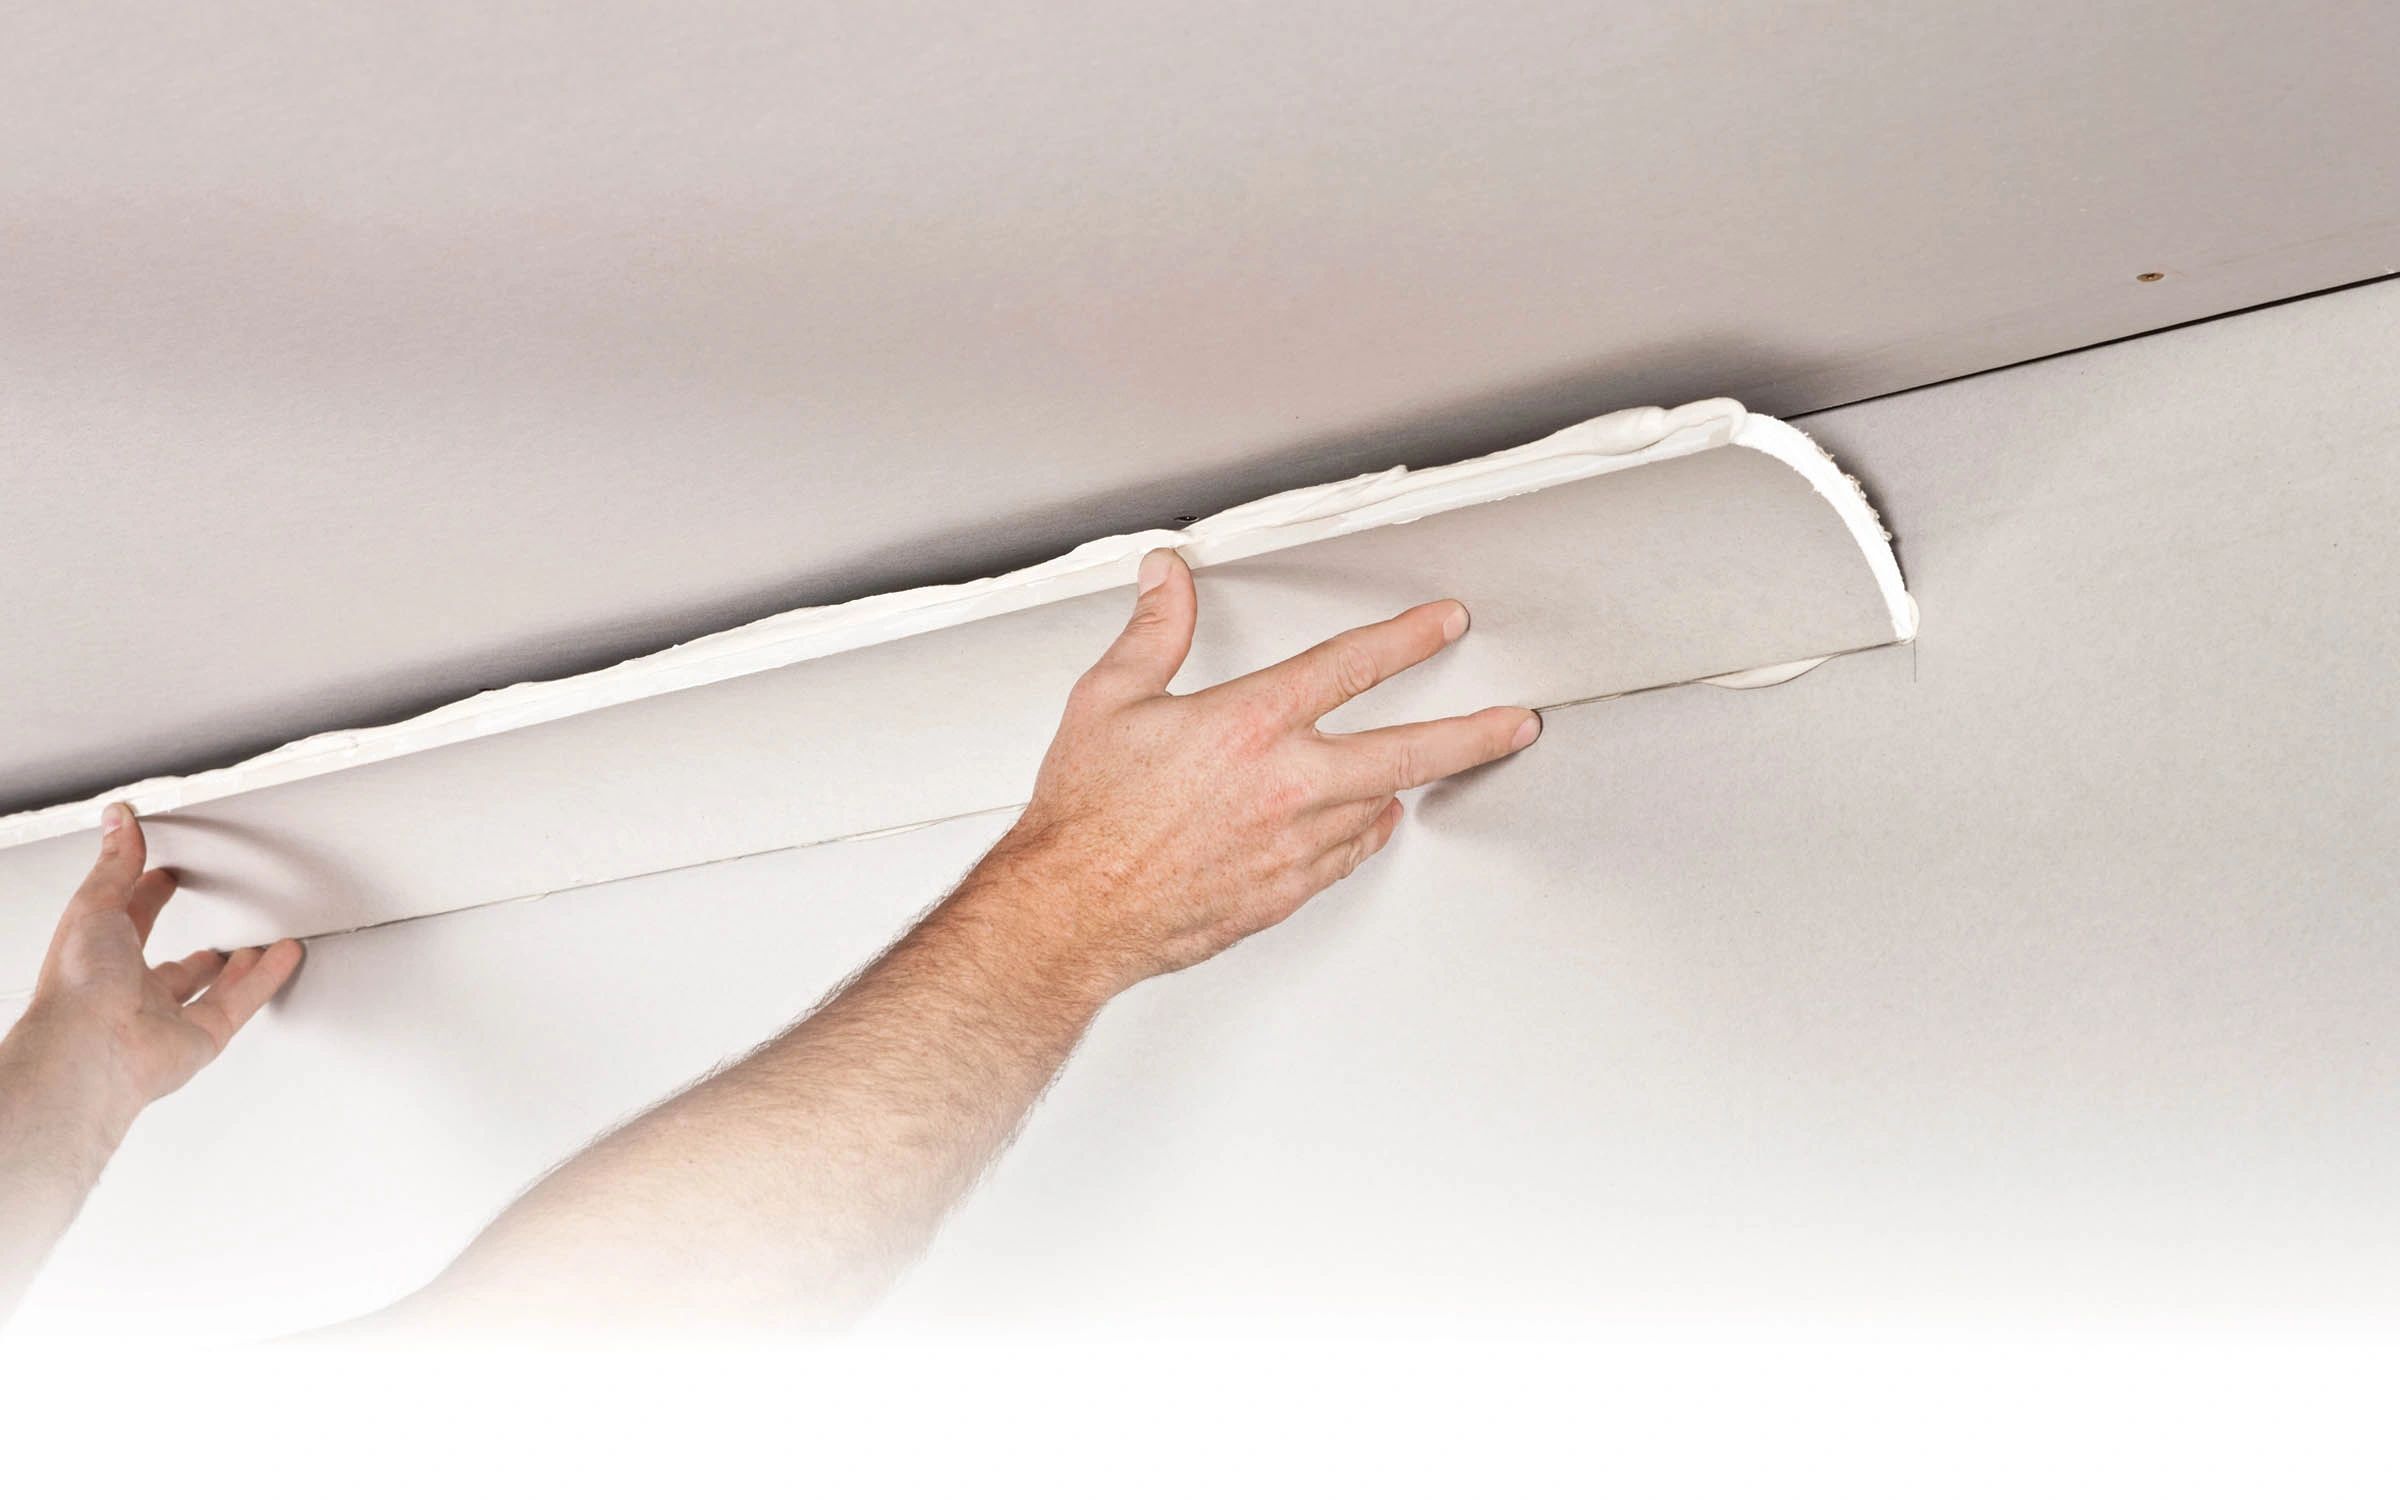
Plasterboard, commonly known as drywall, is a staple in modern construction, offering a smooth and even surface for walls and ceilings. However, despite its durability, it is not immune to damage. Whether due to accidental impacts, moving furniture, or simple wear and tear, plasterboard can develop cracks, holes, or other imperfections. Addressing these issues promptly and effectively is essential to maintaining the aesthetic and structural integrity of your interior spaces. This guide provides expert advice on achieving flawless plasterboard repair patching, ensuring a seamless and professional finish.
Understanding the Basics of Plasterboard Repair
Before delving into the repair process, it’s crucial to understand the nature of the damage. Identifying whether the issue is a minor crack, a significant hole, or widespread damage will dictate the repair approach. For minor issues, a simple patch may suffice, whereas more extensive damage might require a more comprehensive strategy.
Tools and Materials Required
Having the right tools and materials is essential for any repair task. Here?s a checklist to ensure you?re well-prepared:
- Utility knife
- Sandpaper (medium and fine grit)
- Joint compound or spackle
- Putty knife
- Plasterboard patch or mesh tape
- Primer and paint (to match existing wall)
Equipped with these tools, you?re ready to tackle any plasterboard repair job. Discover expert strategies here.
Step-by-Step Guide to Plasterboard Repair
Step 1: Prepare the Area
Start by cleaning the damaged area to remove any dust or debris. This ensures the repair materials adhere properly. Use a utility knife to trim away any loose or damaged plasterboard.
Step 2: Apply the Patch
If dealing with a small hole, apply a piece of plasterboard patch or mesh tape over the area. For larger holes, cut a piece of new plasterboard to fit the cavity precisely. Secure it in place with joint compound.
Step 3: Apply Joint Compound
Using a putty knife, spread a layer of joint compound over the patch, feathering the edges to blend with the surrounding wall. Allow it to dry completely before proceeding.
Step 4: Sand and Repeat
Once the compound is dry, sand the area with medium-grit sandpaper to smooth any ridges. Apply a second coat of joint compound if necessary, and sand again with fine-grit sandpaper for a seamless finish. Learn about our tailored solutions.
Step 5: Prime and Paint
Finally, apply a coat of primer to the repaired area to ensure the paint adheres evenly. Once the primer is dry, paint over the patch, using paint that matches the existing wall color for a flawless finish.
Tips for a Professional Finish
Achieving a professional finish requires attention to detail and patience. Here are some additional tips:
- Always allow sufficient drying time between applying joint compound layers.
- Feather the edges of the compound well to blend with the surrounding wall.
- Use high-quality paint to ensure a consistent color match.
For more advanced tips and guides, explore advanced guides and tips.
Common Mistakes to Avoid
Even with the best intentions, mistakes can occur during plasterboard repairs. Some common pitfalls include:
- Not sanding adequately between layers, leading to a rough finish
- Skipping the priming step, resulting in poor paint adhesion
- Using mismatched paint, which draws attention to the repaired area
To ensure a flawless repair, find out more about this approach.
In conclusion, mastering plasterboard repair patching is a valuable skill for maintaining the beauty and functionality of any interior space. With the right tools, techniques, and a bit of patience, achieving a seamless and professional result is well within reach.
