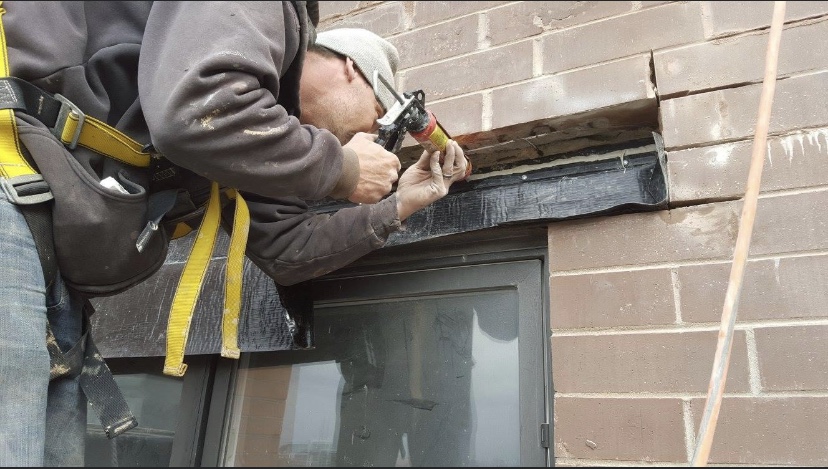
When it comes to maintaining the structural integrity of a building, lintels play a critical role. Positioned over windows and doors, lintels bear the weight of the structure above these openings, ensuring stability. Over time, however, lintels can deteriorate due to exposure to the elements and other factors. Understanding when and how to replace them is crucial for every homeowner. This guide provides a comprehensive checklist for lintel replacement, ensuring that homeowners are well-equipped to manage this essential home maintenance task effectively.
Understanding Lintel Damage
Lintels can suffer damage due to various reasons, including rust, water penetration, and thermal expansion. Recognizing the signs of lintel damage early can prevent more extensive structural issues. Here are some common indicators:
- Visible cracks above windows or doors.
- Rust staining on the surface of the lintel.
- Displacement or sagging of the lintel or the surrounding masonry.
- Water infiltration and associated mold growth.
If any of these signs are apparent, it is important to consider professional assessment and replacement strategies. Discover expert strategies here.
Preparing for Lintel Replacement
Once it is determined that replacement is necessary, proper preparation is key to a smooth process. Here are the steps to prepare for lintel replacement:
Assessment and Planning
- Engage a structural engineer or a professional mason to assess the extent of the damage.
- Determine the appropriate replacement lintel material, such as steel, concrete, or stone, based on the existing structure and aesthetics.
- Develop a detailed replacement plan, including timelines and budget considerations.
Further insights into planning and material selection can be found by exploring advanced guides and tips.
Obtaining Permits and Approvals
- Check local building codes and regulations to ensure compliance.
- Obtain necessary permits and approvals from local authorities.
Executing the Replacement
With preparation complete, the actual replacement process can begin. This involves several critical steps:
Temporary Support Installation
- Install temporary supports to bear the load during replacement.
- Ensure that supports are adequately placed and secure to prevent structural movement.
Removing the Old Lintel
- Carefully remove the damaged lintel without disturbing the surrounding masonry.
- Inspect the cavity for any additional damage or repair needs.
Installing the New Lintel
- Position the new lintel precisely and ensure it is level and properly aligned.
- Secure the lintel in place and remove temporary supports gradually.
For more detailed execution strategies, find out more about this approach.
Post-Replacement Considerations
After the new lintel is installed, a few additional steps ensure the longevity and effectiveness of the replacement:
- Inspect for proper alignment and finish of the surrounding masonry.
- Apply necessary waterproofing measures to prevent future rust and water damage.
- Conduct regular inspections and maintenance to detect early signs of wear.
Regular upkeep and using the right protective measures are essential. Learn about our tailored solutions for maintaining structural integrity over time.
Conclusion
Replacing a lintel is a significant task that requires careful planning and execution. By following this comprehensive checklist, homeowners can ensure that their lintel replacement is successful and that their home’s structural integrity is preserved. For those seeking professional guidance, explore advanced guides and tips to make informed decisions about lintel replacement.
