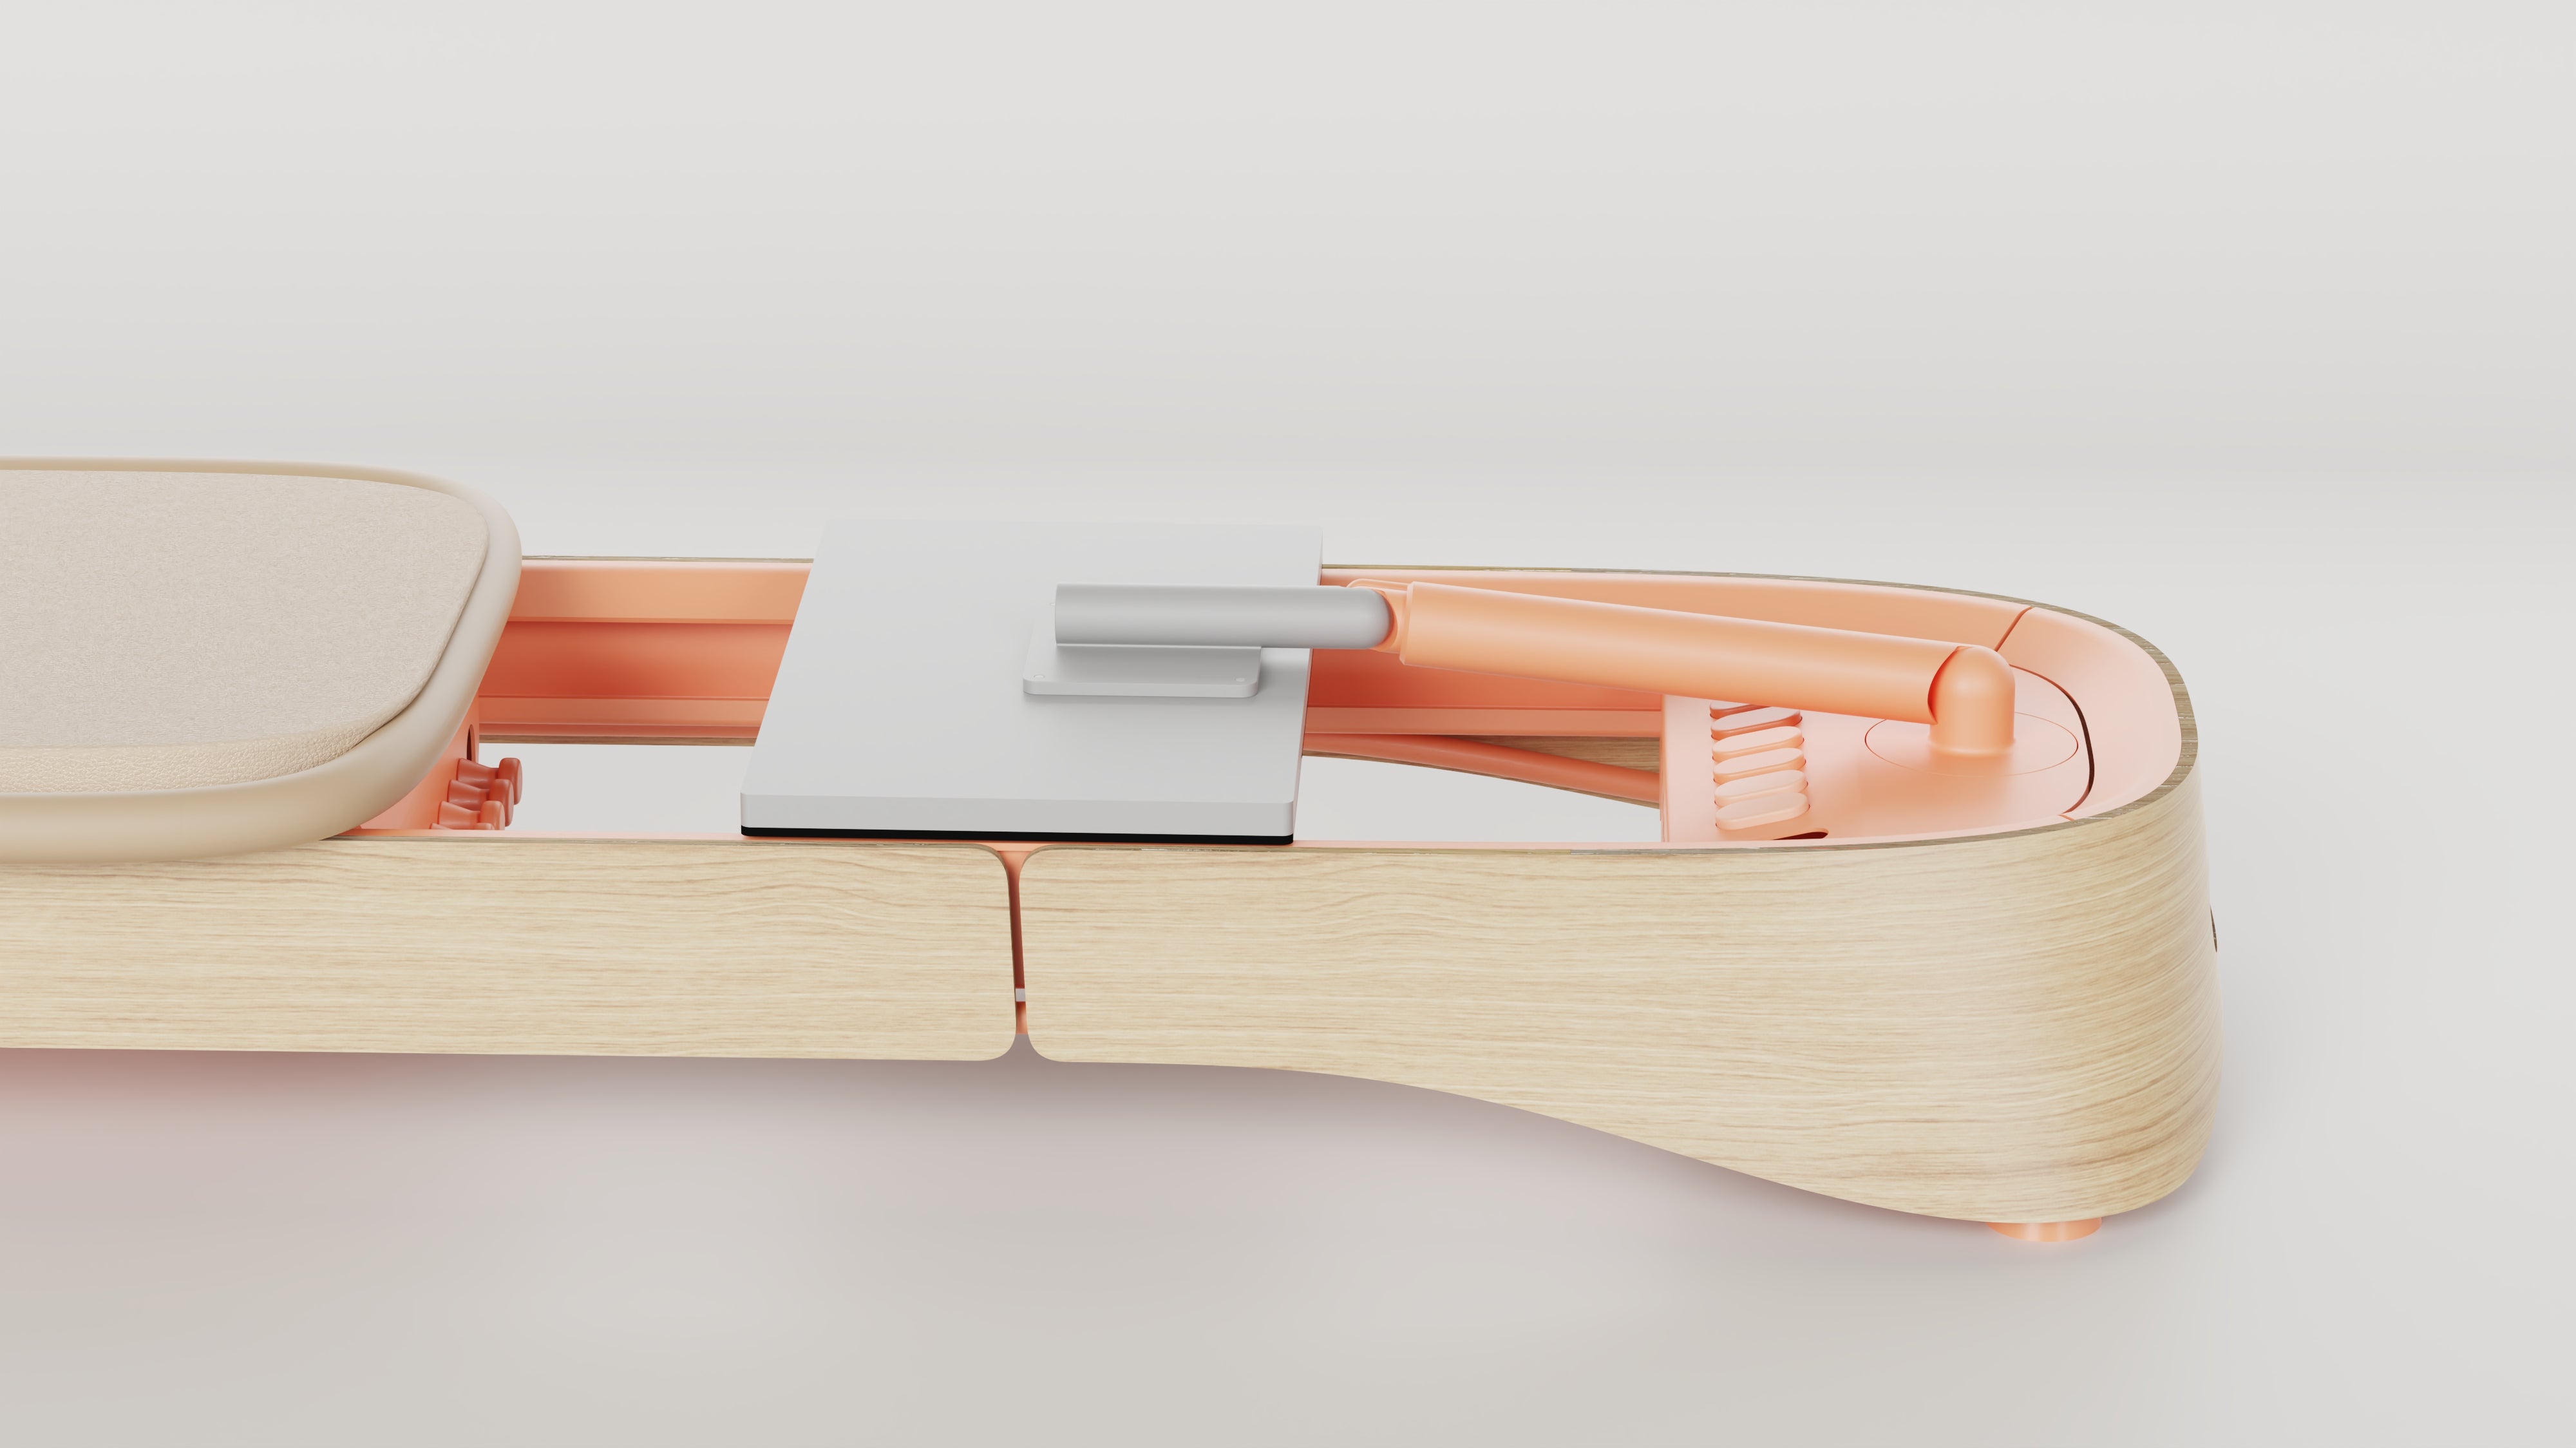
Choosing to work out at home with a pilates reformer offers unparalleled convenience, but the benefits are only realized when the equipment is installed correctly and used safely. This guide walks you through the essential steps, from selecting a suitable space to performing a final safety check, so you can enjoy a reliable, injury-free workout routine. Whether you are a seasoned practitioner or just beginning, proper setup is the foundation of a successful home practice.
1. Selecting the Ideal Space
Flooring and Clearance
- Choose a flat, level surface; hardwood, polished concrete, or a high-density rubber mat are ideal.
- Maintain at least 3-4 feet of clearance on all sides for the carriage to move freely.
- Avoid carpeted areas that can cause the carriage to snag or create uneven resistance.
Lighting and Ventilation
- Good overhead lighting reduces eye strain during precise movements.
- Ensure the room is well-ventilated; a fan or open window helps maintain a comfortable temperature.
2. Unpacking and Assembling the Reformer
Tools and Parts Check
Before you begin, verify that all components are present: frame, carriage, springs, footbar, shoulder rests, and any optional accessories such as a screen. A quick inventory prevents interruptions later.
Step-by-Step Assembly
- Lay out the frame on the chosen floor area.
- Attach the front and rear uprights using the supplied bolts; tighten securely but avoid over-torquing.
- Slide the carriage onto the rails, ensuring it glides smoothly.
- Connect the springs to the carriage according to the recommended tension chart.
- Mount the footbar, shoulder rests, and any additional accessories.
Integrating Technology
If your model includes a display, follow the manufacturer’s wiring guide to connect the screen. This feature can be especially helpful for guided sessions on the pilates reformer machine with screen.
3. Safety Checks Before First Use
- Stability Test: Gently push the carriage forward and backward; there should be no wobble in the frame.
- Spring Integrity: Inspect each spring for cracks or signs of wear.
- Fastener Tightness: Re-check all bolts after the first 10 minutes of use.
- Footbar Alignment: Verify the footbar is parallel to the floor and securely fastened.
4. Creating a Safe Workout Routine
Warm-Up and Stretch
Begin each session with a brief warm-up on the floor or using the reformer’s low-tension settings. This prepares muscles and joints for the range of motion required.
Progressive Loading
- Start with light springs; increase tension only after mastering the movement pattern.
- Use the best pilates reformer for home as a guide for spring selection based on your strength level.
Form and Alignment
Maintain neutral spine alignment and engage core muscles throughout each exercise. Mirrors or a video recording can provide visual feedback.
5. Maintenance and Longevity
- Wipe down the frame after each workout to remove sweat and dust.
- Lubricate the rails quarterly with a silicone-based spray recommended by the manufacturer.
- Inspect springs and cables every six months; replace any components that show signs of fatigue.
6. Frequently Asked Questions
What is the price pilates reformer range for a quality home unit?
Pricing varies with features such as built-in screens or premium wood finishes. Expect a mid-range model to fall between $1,500 and $3,000, while high-end versions with advanced tech can exceed $5,000.
How much space does a home pilates reformer actually need?
Most standard units require a footprint of roughly 6″?ft”???”?3″?ft, plus clearance around the carriage. Measure your room carefully before purchase.
Is a wooden pilates reformer suitable for a home gym?
Wooden frames provide aesthetic appeal and sturdy support, but they may be heavier to move. Ensure floor load capacity can accommodate the weight.
7. Choosing the Right Model
When evaluating options, consider the following criteria:
- Adjustable spring system for varied resistance.
- Presence of a built-in screen for streaming classes (reformer pilates with screen).
- Portability features if the space is multi-purpose.
- Warranty length and availability of replacement parts.
For a balanced combination of performance and value, many practitioners recommend the Frame reformer. Its design emphasizes stability, smooth carriage motion, and a sleek aesthetic that fits modern interiors.
Conclusion
Setting up an at home reformer is a straightforward process when approached methodically. By selecting an appropriate space, following the assembly instructions, conducting thorough safety checks, and maintaining the equipment regularly, you create a reliable platform for consistent Pilates practice. A well-installed reformer not only enhances workout quality but also safeguards against injury, allowing you to focus on the transformative benefits of Pilates from the comfort of your own home.
