Self-adhesive roof tarps have become a vital resource for homeowners and construction professionals alike, offering a reliable solution for temporary roofing needs. These tarps are designed to protect structures from the elements, whether due to storm damage, ongoing construction, or other unforeseen circumstances. Unlike traditional tarps, the self-adhesive variety offers enhanced convenience and efficiency, allowing for a quicker and more secure application. This ultimate guide will explore the numerous benefits of self-adhesive roof tarps and provide essential tips for their installation, ensuring that users can maximize their utility and performance.
Benefits of Self-Adhesive Roof Tarps
Self-adhesive roof tarps are highly favored for several compelling reasons. Understanding these benefits can help individuals make informed decisions when choosing protective coverings for their roofing needs.
- Ease of Installation: The self-adhesive nature eliminates the need for additional fasteners, simplifying the process and saving time.
- Enhanced Protection: These tarps provide an excellent barrier against rain, wind, and debris, safeguarding the underlying structure.
- Versatility: Suitable for a variety of roof types and surfaces, they can be used in both residential and commercial settings.
- Cost-Effectiveness: By preventing further damage, they can potentially save thousands in repair costs.
- Durability: Made from high-quality materials, these tarps withstand harsh weather conditions, offering prolonged protection.
For those interested in a deeper dive into the advantages of self-adhesive tarps, discover expert strategies here.
Installation Tips for Self-Adhesive Roof Tarps
Proper installation is crucial to ensure the effectiveness of self-adhesive roof tarps. Below are some expert tips to guide users through the process.
Preparation
- Assess the Damage: Before applying the tarp, carefully inspect the roof to identify all areas that require coverage.
- Clean the Surface: Ensure the roof surface is free of debris, dirt, and moisture to optimize adhesive performance.
- Measure Accurately: Accurately measure the area to ensure the tarp fits properly, allowing for some overlap at the edges.
Application
- Align the Tarp: Begin by aligning the tarp along the edge of the roof, ensuring it is straight and covers all critical areas.
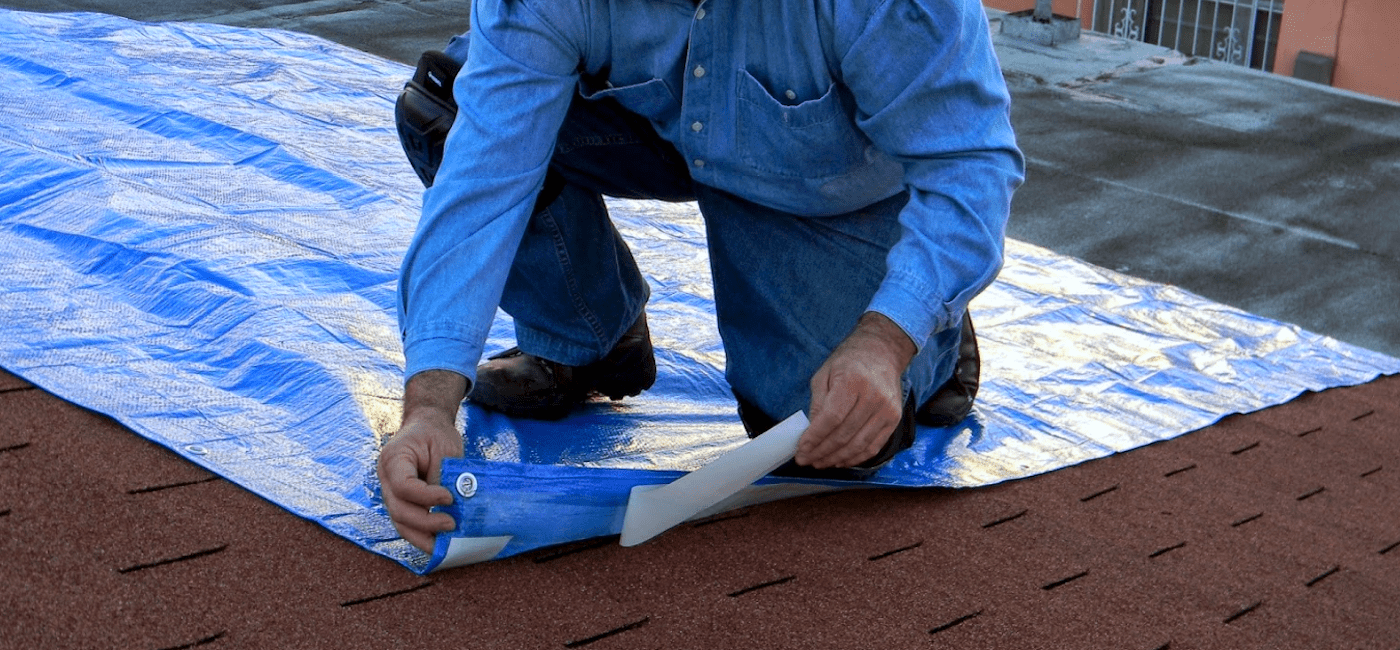
- Peel and Stick: Gradually peel back the protective layer of the adhesive, pressing the tarp firmly onto the roof as you go.
- Smooth Out Air Bubbles: Use a flat tool or your hands to smooth out any air bubbles, ensuring a tight seal.
To further enhance the installation process, learn about our tailored solutions.
Post-Installation Care
- Regular Inspections: Periodically check the tarp for signs of wear or displacement, especially after severe weather.
- Secure Edges: Ensure that the edges remain firmly attached to prevent wind from getting underneath.
- Replace When Necessary: Although durable, replace the tarp if it becomes significantly worn or damaged.
For additional guidance on maintaining roof tarps, explore advanced guides and tips.
Conclusion
Self-adhesive roof tarps represent a significant advancement in temporary roofing solutions, offering unparalleled ease of use and protection. By following the installation tips outlined above, users can ensure their tarps provide reliable and durable coverage. For those seeking further information on self-adhesive tarps and other related topics, feel free to find out more about this approach. Properly understanding and utilizing these products can make a substantial difference in mitigating damage and preserving property integrity.
