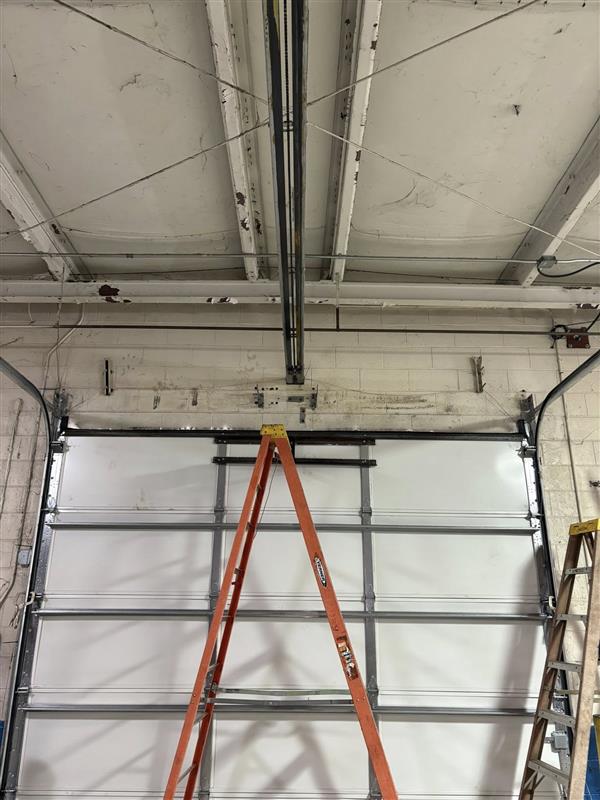
Changing garage springs is an essential maintenance task for ensuring the safety and functionality of a garage door. Garage springs play a critical role in counterbalancing the door’s weight, allowing for smooth and easy operation. Over time, these springs can wear out or break, necessitating a change to maintain optimal performance. While the task may seem daunting, with the right tools, knowledge, and safety precautions, replacing garage springs can be accomplished efficiently and safely. This article outlines the essential steps for changing garage springs, providing a comprehensive guide for those ready to undertake this important maintenance task.
Understanding the Types of Garage Door Springs
Before embarking on the task of changing garage springs, it’s important to understand the types of springs used in garage doors. The two main types are:
- Torsion Springs: Located above the garage door, these springs use torque to lift the door. They are generally more durable and provide smoother operation.
- Extension Springs: Positioned along the sides of the door, these springs expand and contract to counterbalance the door’s weight. They are usually found in older garage door systems.
Preparation and Safety Measures
Safety should be the top priority when changing garage springs. Here are essential safety measures and preparation steps:
- Wear Protective Gear: Safety glasses and gloves are crucial to protect against any accidental release of tension.
- Disconnect the Opener: Ensure the garage door opener is unplugged to prevent accidental activation.
- Secure the Door: Use locking pliers or a C-clamp to hold the door in place, preventing it from moving during the replacement process.
- Gather Tools: Essential tools include a winding bar, socket wrench, and a ladder for accessibility.
Steps for Changing Garage Springs
Step 1: Release Tension
Releasing the tension in the springs is a critical step. Use a winding bar to slowly and carefully release the tension from the torsion springs. This step is crucial for preventing injuries and should be done with precision.
Step 2: Remove the Old Springs
With the tension released, proceed to remove the old springs. Unbolt the spring from the center bracket and slide it off the torsion bar. For extension springs, disconnect the safety cables and remove the springs from their brackets.
Step 3: Install New Springs
Position the new springs on the torsion bar and secure them with the center bracket. For extension springs, attach the safety cables and ensure they are properly aligned. It’s crucial that the springs are the correct size and properly calibrated for your specific door model. Learn about our tailored solutions.
Step 4: Wind the New Springs
Using the winding bar, carefully wind the new torsion springs to the appropriate tension. This step requires careful attention to detail to ensure the door operates smoothly. Follow the manufacturer’s instructions for the correct number of turns, and always double-check for accuracy.
Testing and Final Adjustments
Once the new springs are installed and wound, it’s time to test the garage door. Slowly open and close the door to ensure it moves smoothly without any unusual noises or resistance. Make any necessary adjustments to the spring tension as needed. Find out more about this approach.
Conclusion
Changing garage springs, while challenging, is a task that can be accomplished with the right preparation and attention to safety. By understanding the type of springs, following precise steps for release and installation, and performing thorough testing, one can ensure a successful replacement. For those seeking professional guidance or advanced tips, discover expert strategies here. Ensuring the longevity and efficiency of a garage door system starts with a keen understanding of its spring mechanism.
