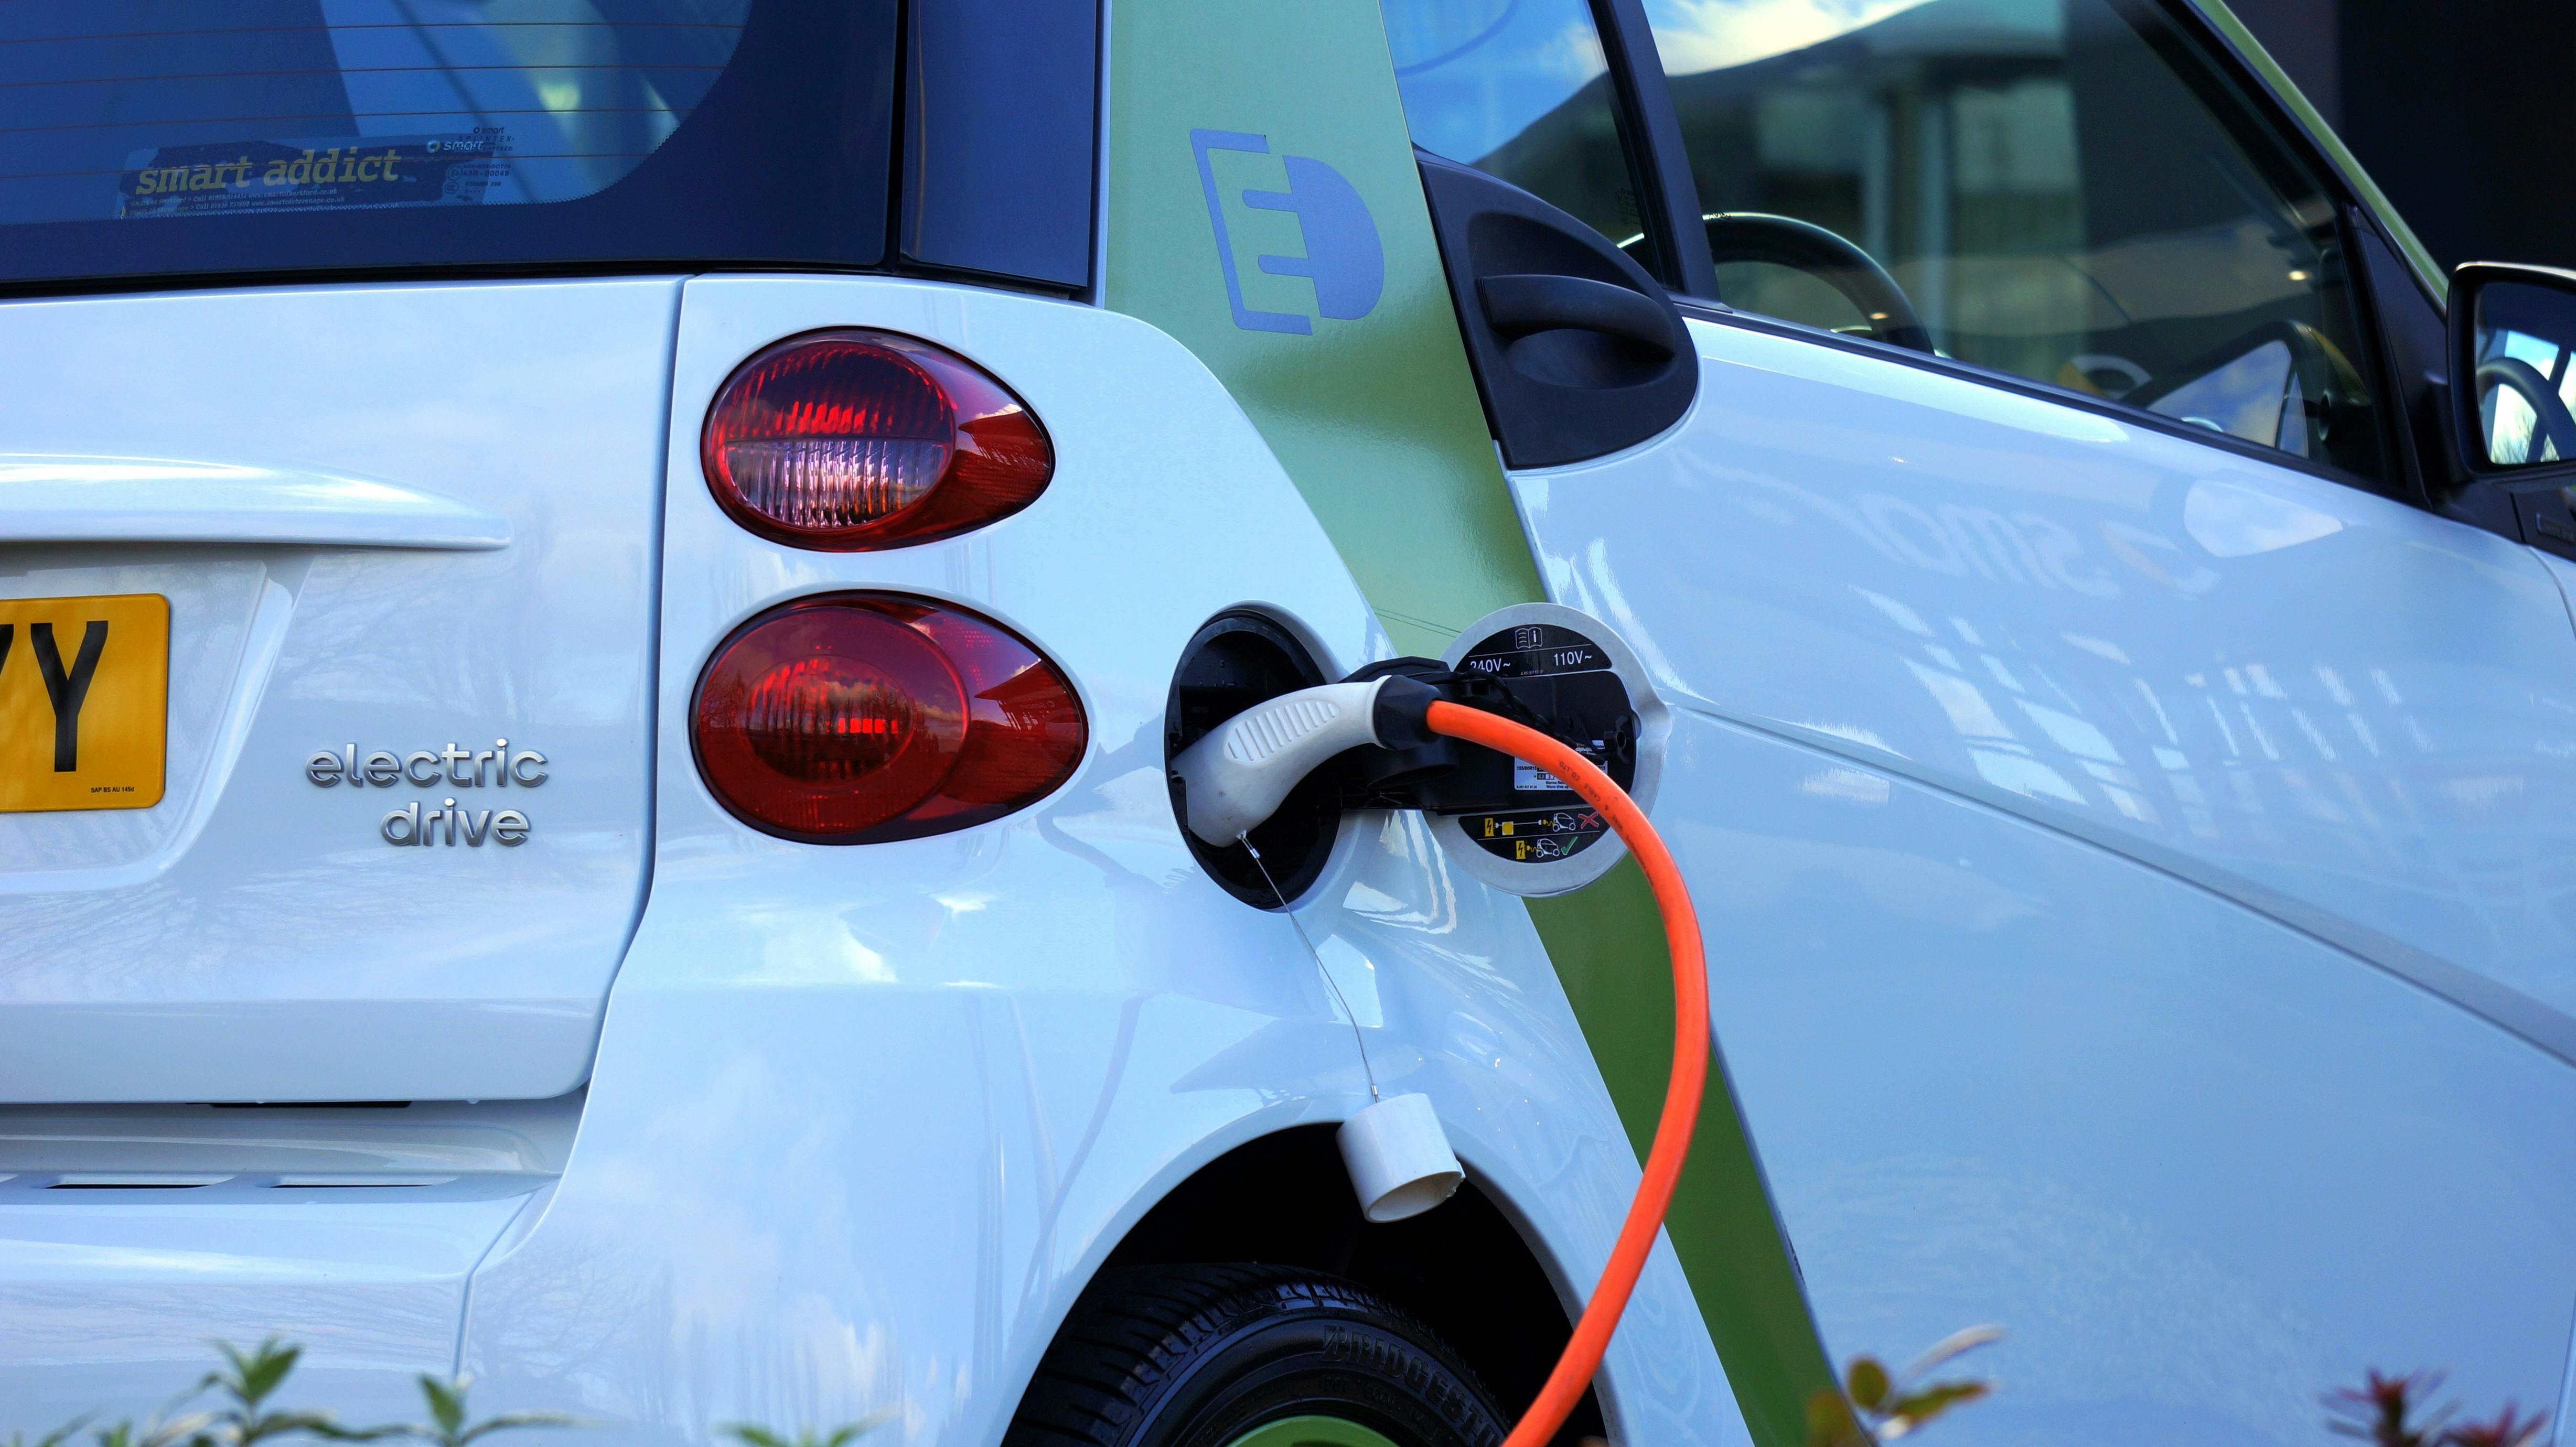
As electric vehicles (EVs) become more prevalent, the demand for home charging solutions is increasing. Installing an EV charger at home not only offers convenience but also ensures that your vehicle is always ready for your daily commute or errands. However, the installation process requires careful planning and execution to ensure safety and efficiency. This article provides a comprehensive guide on how to install EV home chargers safely, leveraging the latest industry insights and best practices.
Understanding Your Power Needs
Before you begin the installation process, it’s crucial to understand your power needs. This involves assessing the electrical capacity of your home to ensure it can handle the additional load. Consider the following:
- Check your home’s electrical panel to confirm it has enough space for an additional circuit.
- Determine the amperage of the charger you plan to install. Most home chargers require a 240-volt outlet.
- Consult with a licensed electrician to evaluate the overall electrical capacity of your home.
For more detailed guidance, explore advanced guides and tips that can help you make informed decisions about your power needs.
Choosing the Right EV Charger
Selecting the appropriate EV charger involves considering several factors that align with your driving habits and vehicle specifications. Here are some key points to consider:
- Level of Charger: Decide between Level 1 and Level 2 chargers. Level 1 chargers use a standard 120-volt outlet and are slower, while Level 2 chargers require a 240-volt outlet and charge faster.
- Smart Features: Some chargers offer smart features such as scheduling, remote monitoring, and energy usage tracking.
- Compatibility: Ensure the charger is compatible with your vehicle model.
To learn about tailored solutions that fit your specific needs, learn about our tailored solutions.
Installation Process
Hiring a Professional Electrician
The installation of an EV charger is not a DIY project and should be handled by a professional electrician. Here’s why:
- Safety: A licensed electrician ensures that the installation complies with local electrical codes and standards.
- Expertise: Professionals have the expertise to handle and resolve potential issues during installation.
- Warranty: Professional installation may be required to maintain the warranty on your charger.
Discover expert strategies here to ensure a safe and compliant installation process.
Installation Steps
Once you have engaged a professional electrician, the installation process generally follows these steps:
- Site Assessment: The electrician assesses the site for optimal charger placement and checks the electrical panel.
- Installation: The electrician installs the necessary wiring and mounts the charger.
- Testing: The electrician tests the charger to ensure it’s functioning correctly and safely.
For a more detailed breakdown of the installation process, find out more about this approach.
Safety Tips and Maintenance
Ensuring the ongoing safety and maintenance of your EV charger is critical. Consider these tips:
- Regularly inspect the charger and cables for wear and tear.
- Keep the charger clean and free from dust and debris.
- Follow the manufacturer’s maintenance guidelines to ensure longevity and efficiency.
Explore advanced guides and tips here for maintaining your EV charger effectively.
By following these guidelines and working with qualified professionals, you can ensure that your EV home charger is installed safely and efficiently, providing reliable service for years to come.
